How to fix no highlight when selecting objects
A downloadable workaround
Normally you just see the lone tool as selected when you selected a sprite or other object without a material applied. The problem here is sometimes, when you download or decompile a built Unity project, selecting a textured object does not apply the orange highlight around it, which is annoying and hard to work with. What's worse is that no one I've reached out to appears to have any idea of how or why this happens, including the Unity team!
Though I don't know how this is even physically possible (yes, necessary gizmos were active), I do have a workaround. This tutorial is mainly for Unity 2020+, if earlier, try to do this procedure in the possible alternative.
1. You will need to go to the Package Manager in your open project, make sure you have Unity Registry filter active. Install ProBuilder. (You can skip this step if ProBuilder is installed already)
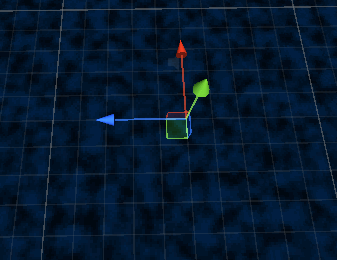
2. Go to your Scene and ProBuilder tab in the main UI. To get the ProBuilder tab, go to the near top of the screen and pick Tools>ProBuilder>ProBuilder Window. Click "ProBuilderize" and you'll notice that not only the highlight is now there, but there should also be thin blue lines representing the borders, and the ProBuilder toolbox. If you had to ProBuilderize planes but don't want to see like a thousand faces, you may need to try changing it to a quad in the Inspector tab preferably before ProBuilderizing it.
Okay you might not like the borders displaying on the objects, but it's surely better than no indication at all showing the size of said object. Besides, these indicators only show in the Scene view.
Leave a comment
Log in with itch.io to leave a comment.